My friend Stesha is the amazing photographer behind Classic and Bubbly... In fact she's the very lady who's doing the giveaway for a free photography session.
So if you live in AZ, check out the post below this one!
I asked her to share 5 photography tips today that most people don't think about.
Having good pictures on your blog is sooo vital to its growth,
so I thought you all would enjoy this!
Check out her blog for more tips and fun posts HERE.
------------------------------------------------------------------------
Hello Shine Project readers!! I am so excited to be guest posting for Ashley today! Yay!!
I have been asked many times lately, "Stesh, can you give me advice on how to take some great photos?" At first I was socked! flattered! Advice from me? I am still so flattered every time I get asked. Throughout my years of taking photographs I have had some great ones and some, "haha what is that" ones.
Many key elements go into taking great photographs. Today I am going to share my top 5 that I look for each time I am out shooting.
#1: FRAME YOUR PICTURE
This is a picture of feet. Yepp just two feet hanging there, off the side of a beam, picture worthy? Of course! BUT what makes the difference between a picture of feet and art? The frame. For instance the frame of this picture is the pillar on the left and the beam at the top. The emphasis is on the ripple of the water and the feet dangling. If I had gotten more water on the left or the top of the girls thighs up top the picture would have a different frame and the emphasis would be taken from the ripples at the bottom and the feet.
#2: LIGHTING
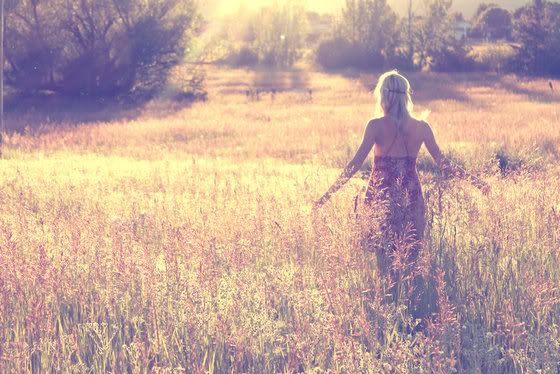
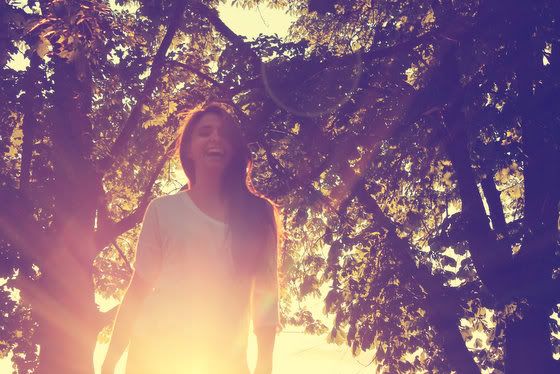
You have heard it before I am sure, lighting. lighting, lighting!!! So important. NOW, there can be some mixed thoughts on lighting in pictures. I remember being a little girl and my mom saying, stand facing the sun I can't see your face if the sun is behind you. True, yet in all of my picture from childhood, my sister and I are squinting because we can not see due to the sun shinning right in our faces. Now that does not always make for the best family photo right?! In the pictures above you will notice a couple things in common. 1st, both pictures are taken at sunset. Sunset is my favorite time to shoot, the lighting is whimsical. However, be careful the sun does not get too low, that will make for dark pictures. 2nd, the sun is not directly in either of these photos. When shooting into the sun you are going to want to make sure the sun is not too bright so it does not take over the photo. There are sun rays in the photo yet not the direct sun!!
#3: CLOSE UPS:
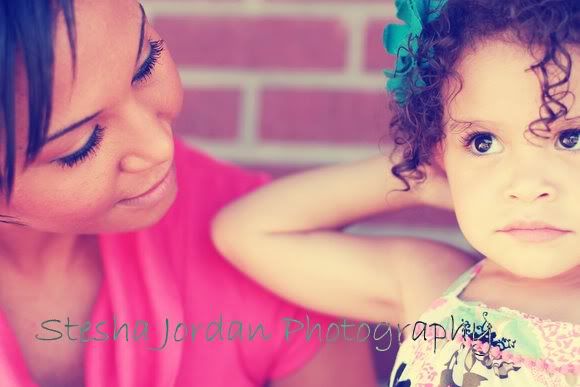
A photo can be close. I know a little scary right? Nope not always. It is ok to cut off the top of a head, or an arm, or body of the person in the photo. You do not need to always have the background visible. As seen in the two photos above, neither of the people in the photos have a complete face or body. They still look great though right?! Picking a specific point and making it the focus will cause you at times to cut sections of the photo out. In the case of the baby in picture one, her little tongue is the main focus causing her full face to not completely be visible in the picture. In the second photo with the mom and daughter, I was capturing the moment they were having. The look in both of their eyes is the focus, which in turn causes their full bodies to not be in the entire photo.
#4: ANGLES:
Angles play SUCH a huge part in taking pictures. This is your time to be creative. When I do my shoots I am sure my clients look at me like I am crazy. I am up on chairs, down laying flat on the ground, sideways....anything goes! DO NOT BE SCARED to try an angle. The photo above is of a simple dock. It actually had bird poop all over it. (gross! not attractive for a picture) I tested a few different angles and once I laid down on my stomach I got the perfect shot. See how long the dock looks?! It focuses on everything from the front panels to the water past the end of the dock.
#5: APERTURE:
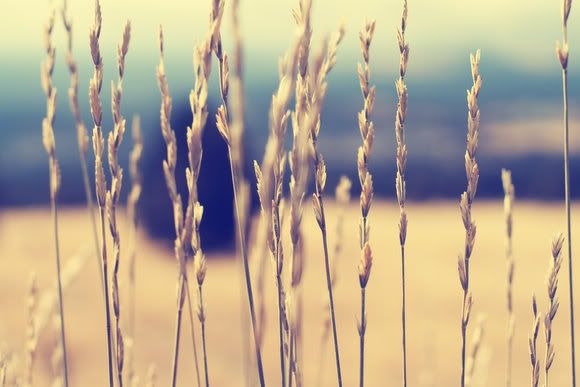
Aperture is a feature on most DSLR cameras. It is shown on the display screen and will look like "F" and then a number. Can be anything from "F1.4" low aperture to "F22" high aperture. What does aperture do? See that blurriness in the background? That is aperture. Depending on how you would like your photos to be displayed you can adjust the aperture to your liking. I tend to use a low aperture when shooting portraits or when trying to be artistic as in the pictures above (causes a lot of blur in the background). When taking photos of a large group of people or a wide setting you would want a higher aperture (less blur, more details). Once again, this is something you get to play around with and be creative. I cant tell you how many times I have been shooting in the wrong aperture, got home looked at all my photos and though.... uhhh clearly those are all blurry!! woops!
I hope these tips helped! I know each and everyone of you can take great photos :) Just not too good that will put me out of business! Just kiddingggg!!!
If you have any additional questions please always feel free to email me at Classic.Bubbly@gmail.com
*Comments turned off so you can go leave them on Stesha's blog HERE.
She's one of my daily reads...
*ps: The adorable Vintage Apron giveaway ends tonight at midnight! Click HERE to enter.


